Jump to NoobowSystems Lab. Home

Go to Kits and Gadgets page


Akizuki Denshi K-0074
Sealed Lead Battery Charger Kit

<Japanese Page>

Simple but deep world
     Charging a battery seems to be a simple act, but development for a best charging method still continues even after more than 100 years. It is indeed a deep world.
    The battery charger for the bicycle headlamp I purchased was so miserable, it broke after only 2 times of operation. After that I charged the battery with my regulated power supply. I wanted to build a battery charger so that I could use it in my van, without bringing the battery each time to the workbench.

    Charging circuit for a lead battery should be simple, possibly I could build it from parts already in stock. However recent situation did not allow me to do that.

Battery Charger Kit

CIC 21-020 Block Diagram
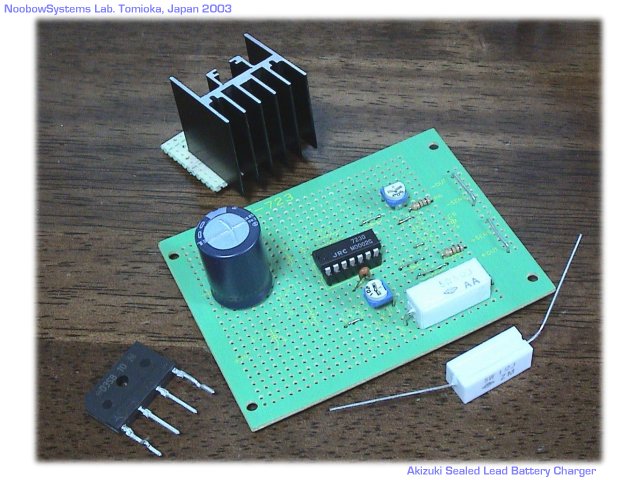
    Akizuki Electonics is so popupar among Japanese electronics hobbyst, with their hundreds of kits for intermediate to advanced kit builders. They have a kit of Sealed Lead Battery Charger, priced 1000 Yen. I could finally have a time to visit Akihabara and purchased one.
    The kit consists of parts, circuit board and manual including technical document of sealed lead battery. Power transformer is not included, but I did not need it because I intended to run it from DC12V.

    The circuit is a standard one using 723 Voltage Regulator IC.  It has 2 trimmer potentiometers; one is to set the voltage when the circuit works in contant voltage mode, the other is to set the current when the curcuit runs in a constant current mode. 2 resisters are provided for a current detection; suitable one is to be choosen depending on the battery size.
    When the charge starts, the circuit is in a constant current mode. As the charge proceeds, it switches to the constant voltage mode. This operation provides trickle charge operation, eliminating the possibility of overcharging.
    Maximum rating of the charginig current is 2A. It can be expanded more if desired, by adding a bigger power transistor and appropriate heat sink.
Building and Test Run
    The circuit board uses the universal prototyping board, but the dedicated pattern with resist is formed. Silk printing is provided. Seemingly this board is common with other models; there are several parts which are not used in this model. Jumper wires are necessary for them. This is quite amateur way, positively speaking.  Akizuki products always give possibility and expandability for creative builders. Heat sink for a power transistor comes with the kit, bit it is not mounted on the board. How to mount it is completely up to the builders.

TC4007UBP Internal Circuit
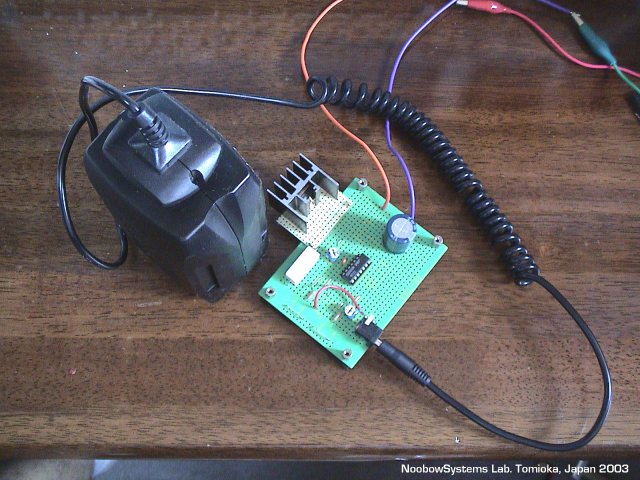
    Building the circuit board quickly completed, as the number of the parts is less. I tentatively mounted the power transistor and heat sink by using additional universal board found in my junk box.
    Supplying DC12V from my regulated power supply, adjusted the trimmer VR2 so that the output voltage becomes 6.84V, the rated voltage for my bicylce headlight battery.
    Next is to adjust the trimmer VR1 for the appropriate charging current. Capacity of my battery is 4.2Ah, so I assumed 0.42A for the charging current. The current sensing resistor I choose was 5 ohms, so the voltage across the sensing resistor should be 2.1V. Adjustment went quite smoothly without trouble. The kit became operational without problem.

    The circuit of this charger is series dropping, so approx. 2W of heat should be dissipated by the power transistor (charging current 0.4A, voltage drop by the power transistor 5V). The heat sink becomes warm but not so hot under the passive air cooling. This should be okay. 

Real creative part, Packaging

    Now I've got a battery charger board. The bike's battery can be charged while it is stowed in my van without worrying about the overcharging. Next, and the real creative part is to give it a good enclosure.  Where and how to mount to my van should be considered. Charging current meter or charge complete indicator is also desired.  Okay, let's think........


Return to Kits, Gadgets and Projects
Return to NoobowSystems Lab. Home

Copyright(C) NoobowSystems Lab. Tomioka, Japan 2003

May. 31, 2003 Purchased at Akizuki in Akihabara.
Jun. 01, 2003 Kits assembled, Page created.